Flat lays are a visually appealing way to showcase products, food, and other items, making them perfect for social media, e-commerce, and blogs. However, creating a well-executed flat lay requires more than just placing items on a flat surface and snapping a photo. So here are a few tips to help turn a basic flat lay into an awesome one.
1. Choose the Right Surface
The surface you choose for your flat lay sets the mood for your entire shot. Consider using a clean, single-colored background that won’t distract from the items you are photographing. You can experiment with textured and patterned backgrounds, but we tend to stick with something simple.
2. Choose Your Items Carefully.
The composition arrangement is everything. Consider the color, texture, and shape of each item, and think about how they will complement each other in the final image. You will want to create some patterns or leading lines that keep your viewer’s eyes focused on your main subject. Start with your main subject, then work complementary products around it.
3. Light Your Photo
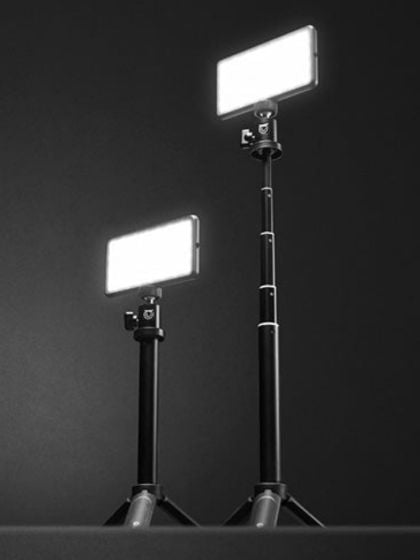
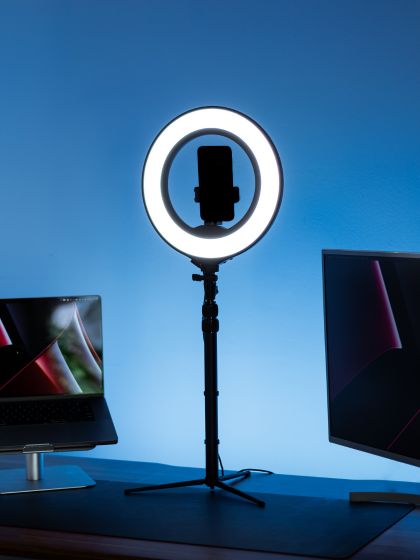
When shooting flat lays, we like to use artificial light because it gives you more control over the light and the shadows. In the video above, we use the Ring Light Pro. Not only is the Ring Light Pro great for flat lay lighting, but it also tilts 90° so it can be used as a tripod. We also used a Studio Panel off to the side to create more dynamic shadows.4. Experiment with angles.
One of the benefits of flat lay photography is that you can experiment with different angles to create a variety of interesting shots. Try shooting from directly above your items for a classic flat lay look but don’t be afraid to get your camera off the tripod and try a different perspective.With these tips and tricks, you can create stunning flat lay images that are visually appealing and effectively showcase your products. So go ahead and give it a try.

