Full Video Transcription Below
Hey, guys. We're here to break down the Flex Light Pro our most flexible lighting product today, designed to provide flawless lighting exactly where you need it to help you master your craft.
We had five goals in mind when we designed the Flex Light Pro.
- Make the light flexible and maneuverable.
- Give it an impeccable light quality that's extra soft and diffused.
- Make it portable and travel friendly.
- Make it sturdy so it doesn't move, shake, or fall while using it over your work.
- Make it content-friendly.
Throughout this video, I'll touch on each point, break down the Flex Light Pro and show you how to best use and operate the light.
To get started, we'll assemble the light and review some physical features to get a lay of the land.
When you open the Flex Light Pro, you'll find the light containing the central battery, the two lights, the redesigned Lume Cube light stand, a power cable, a gooseneck smartphone mount, and a travel case.
First things first, we'll set up our light stand first. Unfold the legs, and then lock them into place. Then find your desired height by using the clamps on the side. Then, place your Flex Light Pro on top of your light stand and tighten the screw to lock your Flex Light onto the light stand.
Next, locate your power cable, insert it into your power source, and insert the other end into the power port on the side of the Flex Light Pro. Next, go ahead and turn your light on by hitting that power switch.
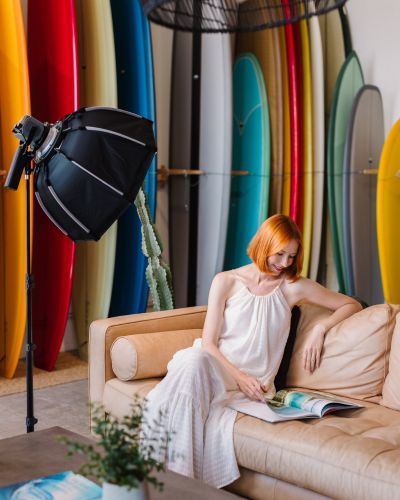
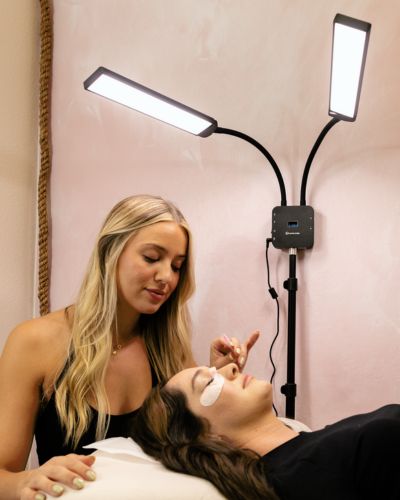
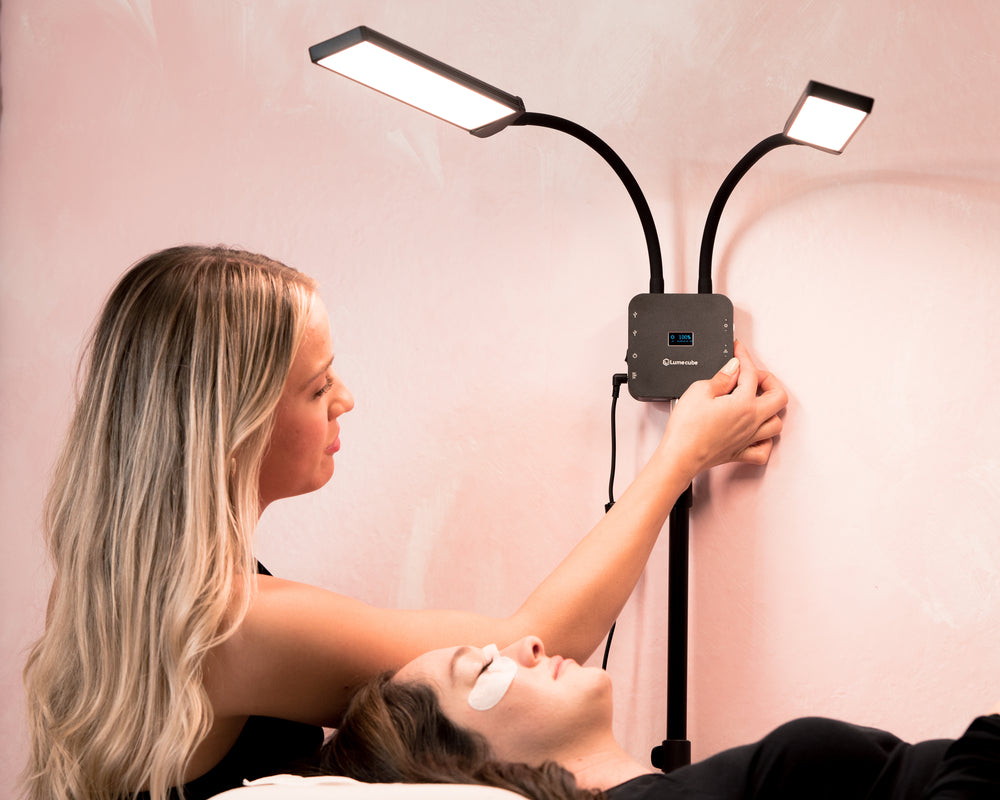
Right away, you'll notice the light quality of the Flex Light Pro through each led panel is edge-lit. This means it is made up of 128 LEDs that line the outside of the light, shining light inward and out through multiple layers of diffusion. This results in a very soft, flattering, and easy-on-the-eyes light.
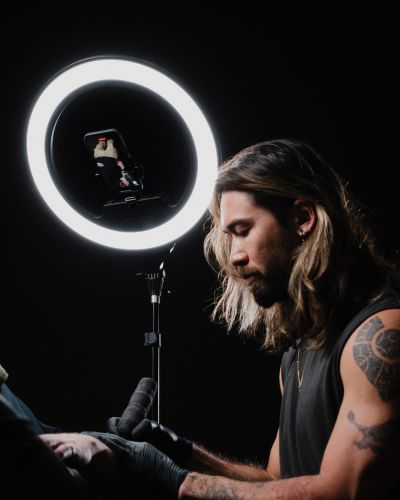
The light quality is also very accurate, with a cry of 96 plus, meaning the colors and tones you see under this light are extremely precise to their true color. This is especially important for the Flex Light Pro due to its use for tattooing, makeup, skincare, etc.
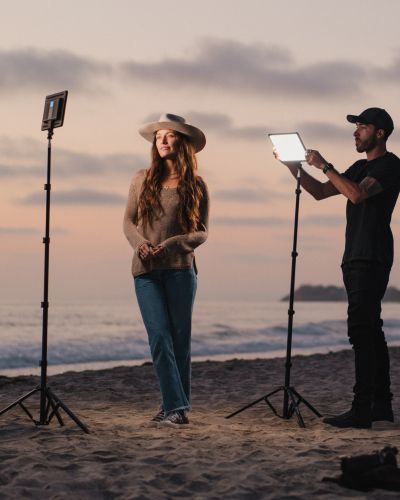
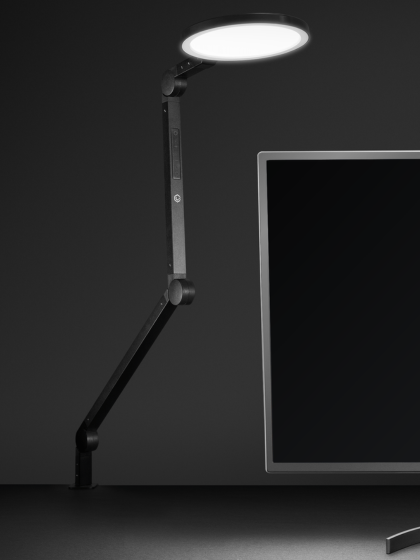
Another important feature here is the flexibility and maneuverability that this light allows. Simply put, you can place this light exactly where you want it for the work that you're doing. Each light sits on a flexible gooseneck, so you can easily shine your light straight on, use it as an up light, top-down lighting, or anything in between. You'll also notice that each LCD panel has 270 degrees of rotation to angle your light in the desired direction.
Next, head around to the back of the Flex Light Pro and look at the control screen. You can monitor your current light settings, like brightness and warmth. To adjust these settings, locate the two dials on the right side of the screen, use the top dial to adjust the brightness in the lower dial, and adjust the warmth of the light ranging from 3000 to 6000 Kelvin.
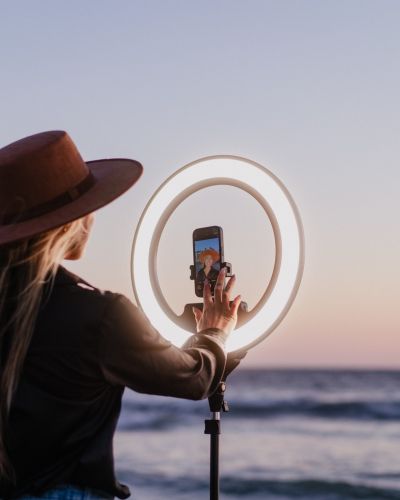
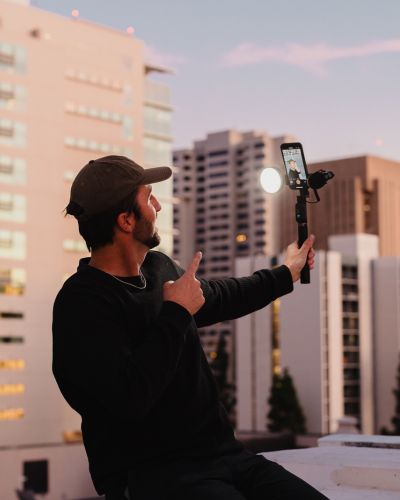
In an effort to make the Flex Light Pro as content friendly as possible, we made it smartphone compatible. Take your gooseneck smartphone mount and screw it right in between each light. Simply mount your phone to the spring-loaded phone clip, and you're good to go. Use your phone to capture your work as it comes to life.
One of my features of the Flex Lite Pro is the ability to charge up your gear while you use the light. This is super convenient but allows you to keep your space's clutter to a minimum.
On the side of the light, you'll find two charging ports, a usb-a, and a usb-c port. Use these to charge your phone, AirPods, or any other gear you're using with your light.
And if it's time to pack your gear away and hit the road, you'll find that each piece has a specified spot in the travel case. Simply pack it away and store it safely for its next use.
Well, there you have it. A breakdown of how to use the Loot Cube Flex Leap Pro. Have any further questions we didn't cover? Send us a message on social Reach out to support at CNBC.com or drop a comment in our Link Cube Community group on Facebook. We'll see you next time.

