Full Video Transcription Below
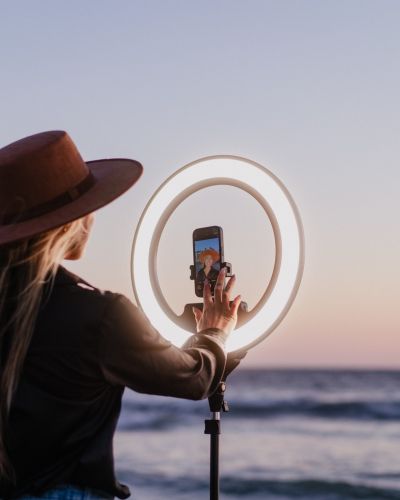
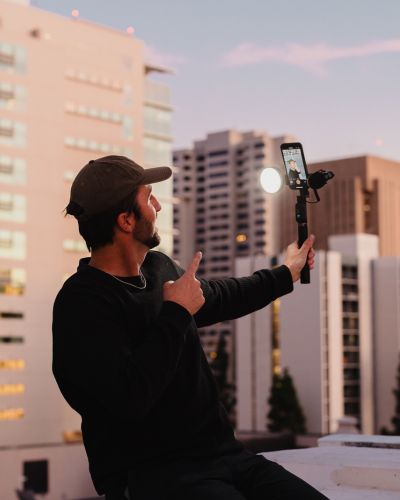
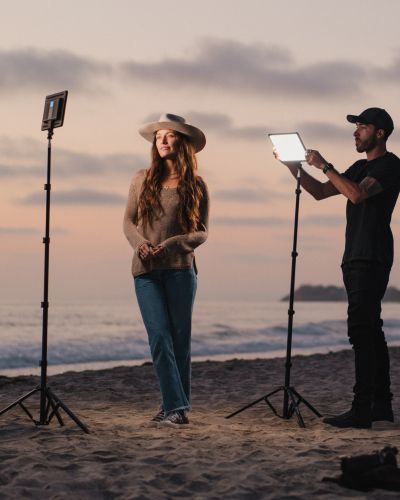
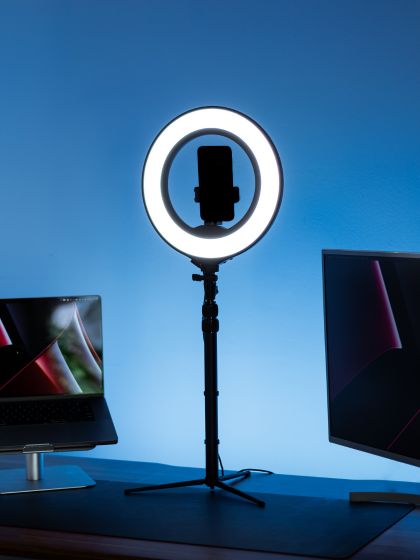
Trevor here from Lume Cube to breakdown the all new Ring Light Pro - one of the thinnest and highest-quality ring lights to ever exist.
The Ring Light Pro includes a reinvented internal battery for cords free use, features edge lit lighting technology for extra soft light that’s easy on the eyes, and includes all the accessories needed to start creating out of the box. All items are stowed away in their designated area inside the zipper case making this a travel friendly Ring Light Kit that can withstand any bumps along the way.
______________________________________________________________________
What’s Included
First, we’ll start with what comes in the box:
(1) Ring Light Pro
(1) Light Stand
(1) Phone Clip
(1) Remote Control
(1) Power Cord
(1) Travel Case
_______________________________________________________________________
Physical Features
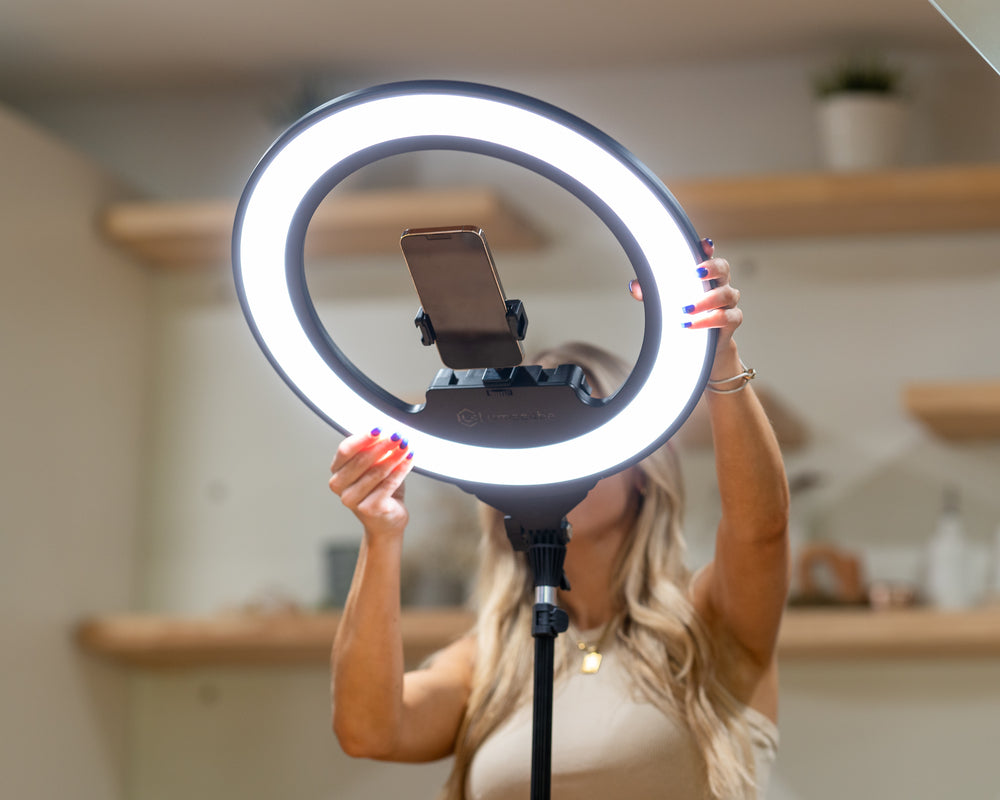
Next, you’ll notice the light itself. It’s 17.5” in diameter, but it’s extra thin and features a very sleek form factor. This is due to the edge-lit technology being used inside the light. 256 LEDs are lined around the inside of the ring, that shine their light inward and onto the subject. This makes this one of the sleekest ring lights ever, and produces an extra soft, flattering, but powerful light.
Moving around to the back, we have the all new, internal rechargeable battery. This is an absolute game changer and truly sets this ring light apart. This gives you the option to use the Ring Light while plugged into power, or you can unplug and use it anywhere as it’s powered from the internal battery source.
While using the battery power, you can run the ring light for over an hour on full brightness, or X hours on 50% brightness.
You can’t look at the battery without noticing the all new control center on the Ring Light Pro. We’ve redesigned the back screen to make it more informative and easier to use than ever. On the screen you can monitor your brightness, color temperature, and the battery life if you’re using the battery power, including the estimated time remaining on your given brightness setting.
Moving to the left side, you’ll notice your power switch, the DC power port, and my favorite, two USB-A ports to keep your phone or other devices charged up and ready to shoot.
On top you’ll see two shoe mounts and a ¼ 20 mount. The shoe mounts can hold any accessories like a microphone, additional lighting, or camera. The ¼ 20 mount is where you mount the included smartphone mount, but whatever you’re filming with, you’ll definitely want to mount the camera in this center spot.
On the ride side you’ll notice two dials. One to adjust brightness and one to adjust color temperature. Below those you’ll notice a subtle black button to pair your remote. We’ll get into that in a little!
Moving down, you’ll see the reconstructed tilt head. If you want to do any top down filming for flatlays, this tilt head will be your best friend. Just below the tilt head is where we have our connection point to the all new Lume Cube Light Stand.
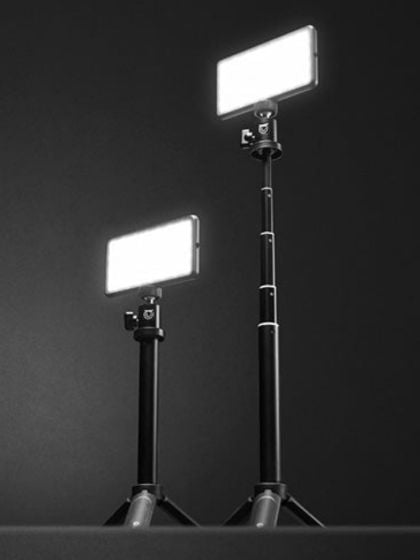
The Lume Cube Light Stand is a brand new product in our line and it came from… well, looking at all the light stands out there and not liking what we were seeing. We wanted to make one that 1. It looks great 2. is easy to use 3. Packs down to a small form factor and 4. is extra stable and reliable to be able to hold your set up without any wiggle or shake.
The rubberized square feet on bottom give it a solid base, and the extension clamps are the easiest way to lock your height in and know you’re good to go.
_______________________________________________________________________
How To Use
Alright, now they we know our way around the Ring Light Pro, lets get into how to use it. Once you open the box, the first thing to do is set up your light stand.
Next you’ll grab your ring light and mount it to the top of your light stand, and tighten using the screw
Also, you can adfjust the angle of your lighting using the tilt head screw. Make sure that is tight.
Next, grab your power cable, plug into your power source, and insert the other end into the power port on side of the ring light.
Keep in mind, once you plug in, you can start using your Ring Light right away, like any other ring light. But as long as it is plugged in, the internal battery will be recharging, so you can unplug after a few hours and cable free.
Even if you don’t plan on traveling far and wide with your ring light, this is a great feature even if you’re shooting indoors and don’t want to move your cables from outlet to outlet. Friction free lighting.
Next, flick that power button and your light will turn on. Take a look at your back control screen to see your current light settings.
As mentioned, you can adjust both the brightness and the warmth of your light. Use the top dial to adjust the brightness, and the bottom dial to adjust the warmth. And you can see these changes being reflected on the back screen.
If you’re using battery power, You’ll also notice that as you adjust brightness, your battery life will change. The less brightness you use, the longer your light will last, but it gives you that information here so you’re light doesn’t die on your unexpectedly. The Ring Light Pro can last over an hour on full brightness using the battery powered option.
Now, lets get your smartphone mounted to the ring light pro. Grab the smartphone clip from your bag, and screw it onto the ¼ 20 thred on top. We included a separate tension disk to allow you to angle your smartphone clip in the perfect direction. Once mounted, you can attach your phone to the clip like so. Best thing about this smartphone mount is you can easily flip from portrait to landscape filming by simply rotating your phone.
As mentioned earlier, The ring light pro can be wirelessly controlled using the included remote. So say you’re in position, ready to hit record, you can take a look at how you appear on camera and fine tune your lighting in real time.
Your remote has been pre-connected to your light, so as long as your ring light is on, your remote will work right out of the box.
If not, follow these instructions:
- On remote, press and hold CH button until red indicator light starts flashing.
- On Ring Light, press and hold CH button for 2 seconds until your light and “H” located underneath the battery icon on the control panel begin to flash.
- On remote, press brightness increase or decrease button to adjust channel frequency (you have 9 options, H1 to H9).
- On both Ring Light and remote, press CH buttons for 2 seconds until both the Ring Light and red indicator light stops flashing.
- On the remote, you can adjust brightness and color temperature using the white pad.
- Below the pad, we have some hot keys to make quick adjustments.
- Tap the color temp buttons to quickly change your light from warm to white
- Or tap the brightness buttons to quickly adjust brightness from ¼, half, or full brightness.
Well there you have it, a breakdown of how to use the Ring LIght Pro. Have any further questions we didn’t cover? Send us a message on social, reach out to support@lumecube.com, We’ll see you next time.

